

Choosing floor tiles seems straightforward until you’re standing in a showroom surrounded by thousands of options, each promising durability, beauty, and value. After renovating five properties and interviewing dozens of contractors, I’ve learned that the “perfect tile” depends entirely on how you’ll actually use the space—not just how it looks in a catalog.


Here’s what contractors know but rarely explain until you’ve already made expensive mistakes.
Understanding Tile Materials: Beyond Marketing Buzzwords
Walk into any tile store and you’ll hear terms thrown around: porcelain, ceramic, natural stone, glazed, through-body. Most sales materials explain these technically, but they don’t tell you what actually matters for your specific situation.
Ceramic vs. Porcelain: The Real Difference
Ceramic tiles are made from clay fired at lower temperatures. They’re softer, easier to cut, and generally less expensive. Porcelain tiles use denser clay fired at higher temperatures, making them harder, less porous, and more durable.
But here’s what matters for your decision: In low-traffic areas like bedrooms or bathrooms with normal use, ceramic performs beautifully and costs 30-40% less. For high-traffic entryways, mudrooms, or commercial spaces, porcelain’s durability justifies the cost.
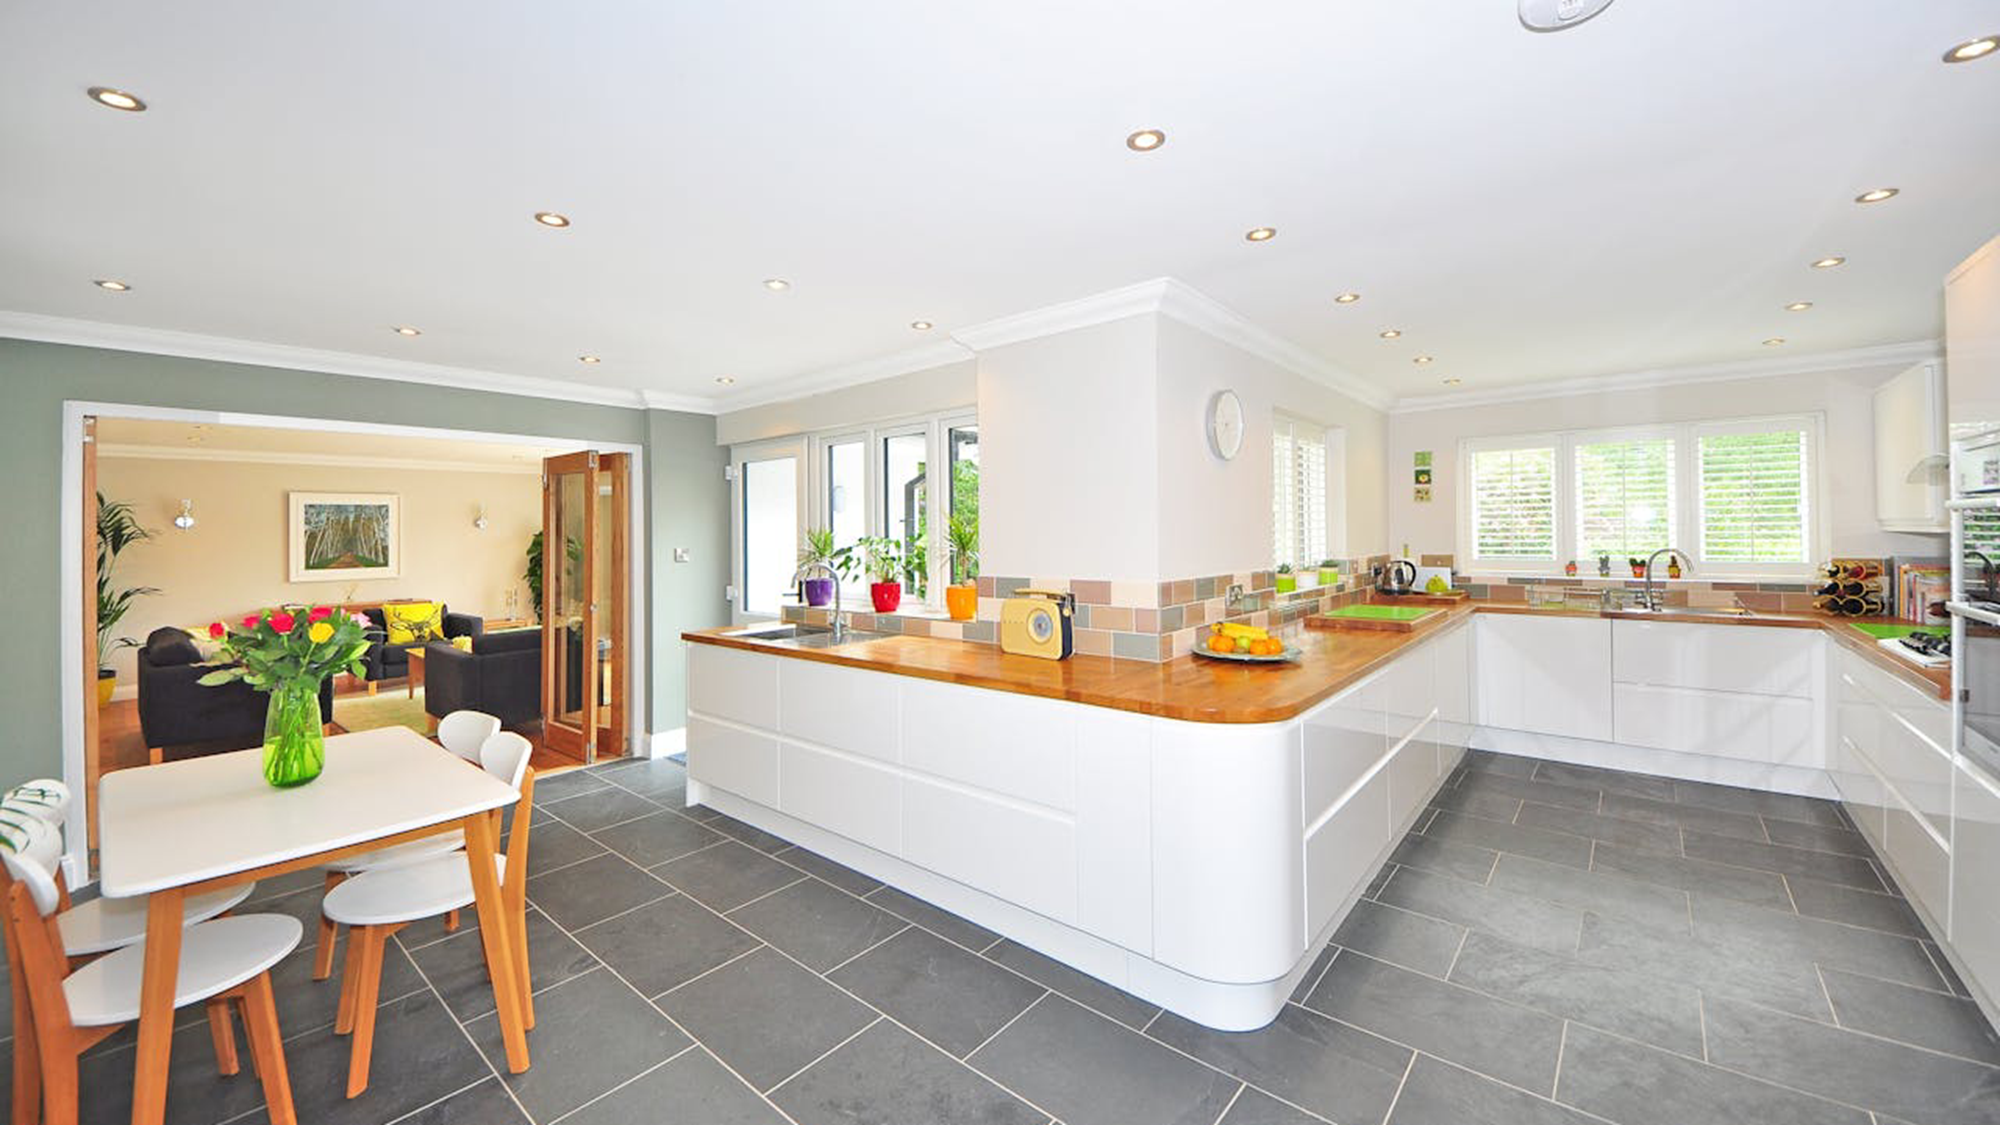
When I renovated my kitchen—a high-traffic zone with three kids and a large dog—I chose porcelain floor tiles rated for heavy commercial use. Five years later, they still look new despite daily abuse. My guest bathroom? Ceramic. It’s been equally perfect for its lighter use.
The Water Absorption Rate Nobody Mentions
Tiles are rated by water absorption: impervious (least absorbent), vitreous, semi-vitreous, and non-vitreous (most absorbent). This rating dramatically affects where tiles should be used.
For any wet area—bathrooms, laundries, entryways—you need low absorption rates. Tiles that absorb water will eventually crack in freezing climates or develop mold in humid ones. This is why bathroom and shower-specific tiles exist; they’re engineered for moisture exposure.
Size Matters More Than You Think
The trend toward larger tiles isn’t just aesthetic—it’s practical. Fewer grout lines mean:
- Less maintenance (grout requires sealing and cleaning)
- More seamless appearance, making spaces feel larger
- Faster installation (though more skill required)
- Better water resistance in wet areas
However, larger tiles have limitations. In smaller bathrooms (under 50 square feet), 24×24-inch tiles can actually make the space feel chopped up because you’ll need many cut pieces. Additionally, very large tiles require flatter subfloors—any variation becomes visible as “lippage” between tiles.
My recommendation: For most residential applications, 12×24-inch planks or 18×18-inch squares hit the sweet spot. They’re large enough for the benefits but forgiving enough for typical subfloor conditions.
Traffic Patterns and PEI Ratings
Every tile has a PEI (Porcelain Enamel Institute) rating from 0-5, indicating abrasion resistance:
- PEI 0-1: Wall use only
- PEI 2: Light traffic (bathrooms)
- PEI 3: Normal traffic (most residential)
- PEI 4: Heavy traffic (entryways, kitchens)
- PEI 5: Commercial/industrial
Most homeowners buy based on appearance without checking PEI ratings, then wonder why their beautiful entryway tiles show wear after two years. Match your rating to your actual use, not aspirational low-traffic dreams.
The Grout Decision That Changes Everything
Contractors have opinions on grout that would surprise you. The traditional advice—use sanded grout for joints wider than 1/8 inch—is outdated.
Epoxy Grout: Worth the Premium
Standard cement-based grout is porous, stains easily, and requires regular sealing. Epoxy grout costs 3-4x more but:
- Never needs sealing
- Resists staining from wine, coffee, grease
- Handles moisture without degrading
- Lasts decades longer
For kitchens and bathrooms, epoxy grout is the single best upgrade most people skip. I learned this from a contractor who said, “I use epoxy in my own house. That tells you everything.”
Grout Color Strategy
Light grout shows dirt. Dark grout in light tile shows dust. The secret? Choose grout 2-3 shades darker than your tile. This creates visual interest while hiding the inevitable dirt between cleanings.
Slip Resistance: The Safety Factor Nobody Talks About
Slip resistance is measured by coefficient of friction (COF). Anything above 0.42 is considered slip-resistant when wet. Sounds technical, but it matters tremendously.
Glazed tiles—beautiful and easy to clean—can be dangerously slippery when wet. This is why specific shower floor tiles exist with textured surfaces or smaller formats that create more grout lines for traction.
I made this mistake in my first renovation, choosing gorgeous glazed 12×12 tiles for a shower. They looked amazing but were terrifyingly slippery. The replacement with proper textured shower tiles cost me an extra $800 plus the time and frustration.
For any potentially wet floor—bathrooms, laundries, entryways—ask specifically about COF ratings and wet slip resistance.
Color and Pattern: Timeless vs. Trendy
Bold patterns and trendy colors look amazing in magazines but can date quickly and limit your décor options. Here’s the approach contractors recommend:
For Permanent Fixtures (floors, shower walls): Choose neutral, classic options. White subway tiles, gray or beige large-format tiles, and natural stone looks never go out of style. These provide a backdrop that works with any décor evolution.
For Easy-to-Change Elements (backsplashes, accent walls): Go bold. These are smaller areas where you can express personality without major commitment. Trends in backsplashes change every 5-7 years, and they’re relatively inexpensive to update.
When I chose tiles for my latest project, I used neutral large-format tiles throughout main areas, then created personality with a striking zellige tile backsplash. The backsplash cost $400 to install—easy to change if I tire of it. The flooring is a 20-year decision.
Installation: Where to Splurge, Where to Save
Professional tile installation typically costs $8-15 per square foot depending on complexity. Here’s where that investment matters most:
Absolutely Hire a Pro:
- Shower enclosures (waterproofing is critical)
- Large-format tiles (requires perfect substrate)
- Natural stone (needs special handling)
- Heated floor systems
Potential DIY:
- Simple bathroom floors with standard 12×12 tiles
- Backsplashes
- Small laundry rooms
- Straightforward layouts with minimal cuts
I’ve done both DIY and professional installations. For my kitchen floor (300 square feet, 12×24 planks), I hired a pro. The substrate prep alone—ensuring it was perfectly flat and properly waterproofed—justified the $3,200 cost. My simple bathroom backsplash? I tackled that myself for $150 in materials.
The Hidden Costs Contractors Mention Too Late
Budget for tiles themselves, but remember:
- Substrate preparation: $2-8 per square foot
- Waterproofing (wet areas): $1-3 per square foot
- Heated floor systems: $10-20 per square foot
- Transitions and thresholds: $15-50 per transition
- Extra tiles for future repairs: 10-15% overage
That $4 per square foot tile in a 200-square-foot bathroom becomes $3,000-4,500 by the time it’s properly installed. Contractors know this; they just wait to explain the full scope until you’re committed.
Maintenance: The 20-Year View
The best tile choice considers maintenance over decades, not just the first year. Natural stone needs regular sealing. Textured surfaces trap dirt. Light grout shows staining.
My personal formula after multiple renovations:
- High-traffic areas: Porcelain with medium-color epoxy grout
- Wet areas: Textured or small-format tiles rated for water exposure
- Visible areas: Quality ceramic tiles with patterns that hide minor wear
- Everything: Professional installation for complex areas, DIY for simple projects when my skills match the requirements
The Digital Advantage
One aspect that’s changed dramatically is research and selection. Twenty years ago, you were limited to local showrooms and contractor recommendations. Now, you can:
- Research specific products and read real user reviews
- Compare prices across suppliers
- View installation videos
- Access design inspiration globally
Modern tile shopping happens increasingly online, which is why businesses like Mineral Tiles invest in detailed product information and imagery. Homeowners want to research thoroughly before committing to permanent installations.
For contractors and retailers adapting to this shift, understanding digital visibility has become crucial. Men, in particular, tend to research extensively before purchasing home materials—which is why resources like gentsnow.com’s home design section that break down technical decisions in practical terms resonate well with this demographic.
Final Recommendations
Before you buy a single tile:
- Assess actual use patterns – Be honest about traffic, moisture exposure, and maintenance commitment
- Check ratings – PEI for durability, COF for slip resistance, water absorption for wet areas
- Budget completely – Include installation, substrate prep, waterproofing, and 10% extra tiles
- Sample in place – Take tiles home, see them in your actual lighting and against your existing elements
- Hire appropriately – Complex installations justify professional expertise
- Think long-term – Choose based on 20-year livability, not current trends
The perfect floor tile isn’t the most beautiful or the cheapest—it’s the one that matches your specific use case, fits your budget completely (including installation), and still makes you happy when you see it years later.
What questions do you have about your specific tile project? The details always matter more than general advice.


